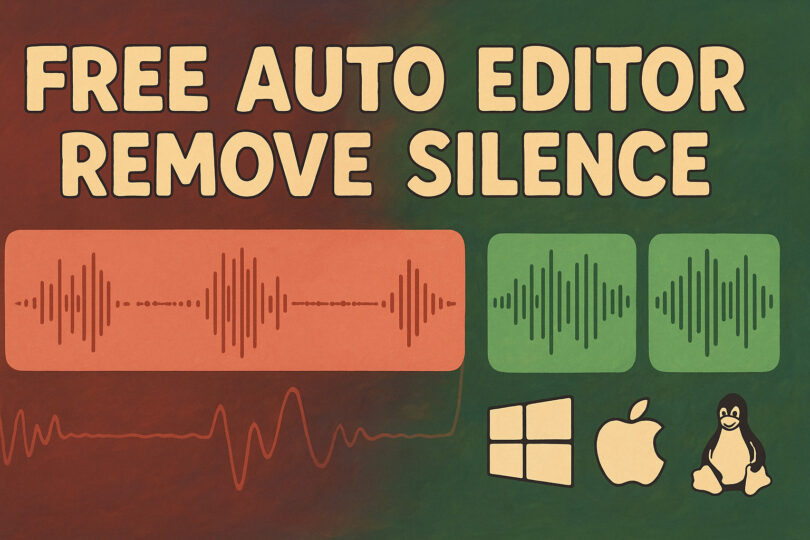
Are you tired of trimming silence from your interviews, podcasts, or vlogs manually? With Auto-Editor, you can automate the entire process — removing silence, cutting scenes, and even syncing edits across multiple tracks — all without touching a timeline.
🔍 What Is Auto-Editor?
Auto-Editor is a powerful, open-source command-line tool that analyzes video and audio files and automatically removes unwanted sections such as silence, inactive segments, or uneventful scenes.
It uses sophisticated algorithms to detect:
- Audio loudness (removes silence)
- Motion activity (cuts out still frames)
- Scene changes (splits clips by transitions)
This makes it ideal for automating repetitive editing tasks like trimming long podcast recordings, cleaning up raw interview footage, creating highlight reels, and preparing raw material for further editing.
📦 Installation Guide: Auto-Editor for Windows, Mac & Linux
✅ Requirements
- Python 3.7 or newer
- ffmpeg installed and accessible in PATH
🖥️ Install on Windows
Option 1: Using pip (Recommended for Developers)
# Step 1: Download Python from https://www.python.org/downloads/windows/
# Step 2: Install Auto-Editor
pip install auto-editor

# Verify installation
auto-editor --help
Option 2: Use Pre-Built Executable
- Go to Auto-Editor Downloads
- Download the Windows `.zip` file.
- Extract and place `auto-editor.exe` in a folder.
- Run from the command line:
auto-editor.exe input.mp4
🍎 Install on macOS
Option 1: Using Homebrew
/bin/bash -c "$(curl -fsSL https://raw.githubusercontent.com/Homebrew/install/HEAD/install.sh )"
brew install auto-editor
Option 2: Install via Python
# Install Python from python.org
pip3 install auto-editor
🐧 Install on Linux (Ubuntu/Debian)
Option 1: APT Package Manager
sudo add-apt-repository ppa:jaemil/auto-editor
sudo apt update
sudo apt install auto-editor
Option 2: Python Installer
sudo apt install python3-pip
pip3 install auto-editor
▶️ Getting Started: Basic Auto-Editor Commands
# Remove silent parts from a video
auto-editor path/to/video.mp4
The result will be saved as video_ALTERED.mp4.
⚙️ Advanced Editing Options
🕒 Add Padding Around Cuts with --margin
# Add 0.2 seconds before and after (default)
auto-editor example.mp4 --margin 0.2sec

# Add 0.3 seconds before, 1.5 seconds after
auto-editor example.mp4 --margin 0.3s,1.5sec
🎯 Methods for Making Automatic Cuts
🔊 By Audio Loudness (Default Method)
auto-editor example.mp4 --edit audio:threshold=0.04
auto-editor example.mp4 --edit audio:-19dB
📸 By Motion Detection
auto-editor example.mp4 --edit motion:threshold=0.02
🔄 Combine Multiple Methods
auto-editor example.mp4 --edit "(or audio:0.03 motion:0.06)"
🧑🔧 Manual Edits: Fine-Tune Your Output
❌ Cut Out Specific Sections
# Cut first 30 seconds
auto-editor example.mp4 --cut-out 0,30sec

# Cut multiple ranges
auto-editor example.mp4 --cut-out 0,10 15sec,20sec
✅ Keep Specific Sections
# Keep first 30 seconds, cut rest
auto-editor example.mp4 --add-in 0,30sec

# Keep multiple ranges
auto-editor example.mp4 --add-in 30sec,40sec 120,150sec
🚫 Disable Automatic Editing
auto-editor example.mp4 --edit none --cut-out 0,5sec
💾 Exporting to Professional Editors
# Adobe Premiere Pro
auto-editor example.mp4 --export premiere

# DaVinci Resolve
auto-editor example.mp4 --export resolve

# Final Cut Pro
auto-editor example.mp4 --export final-cut-pro

# ShotCut
auto-editor example.mp4 --export shotcut

# Export clip sequence
auto-editor example.mp4 --export clip-sequence
🏷 Naming Timelines When Exporting
For POSIX Shells (Linux/macOS):
auto-editor example.mp4 --export 'premiere:name="My Project"'
For PowerShell (Windows):
auto-editor example.mp4 --export 'premiere:name=""My Project""'
📂 Split Clips Without Editing
auto-editor example.mp4 --silent-speed 1 --video-speed 1 --export premiere
📊 See What Auto-Editor Would Cut
auto-editor example.mp4 --video-speed 99999 --silent-speed 1
🛠 More Useful Flags and Options
# List all options
auto-editor --help

# Get help with a specific option
auto-editor --margin --help

# Export settings explained
auto-editor --export --help
🧪 Batch Processing Multiple Files
On Linux/macOS:
for file in *.mp4; do auto-editor "$file"; done
On Windows (PowerShell):
Get-ChildItem *.mp4 | ForEach-Object { auto-editor $_.Name }
🎨 GUI Version (Paid): Easier for Beginners
While the CLI version is powerful, some users prefer a graphical interface.
Auto-Editor offers a paid GUI version with drag-and-drop support, visual timeline preview, and simplified export options.
🧠 Tips & Tricks for Better Results
- Start with default settings, then tweak thresholds as needed.
- Use headphones when reviewing output to catch missed silences.
- Combine Auto-Editor with DaVinci Resolve/Final Cut Pro for fine-tuning.
- Use batch scripts to process dozens of videos at once.
- Always backup original files before running batch edits.
📉 Pros and Cons of Auto-Editor
| Feature | Pros ✅ | Cons ❌ |
|---|---|---|
| Cost | CLI is completely free | GUI version requires payment |
| Speed | Blazing fast editing | Requires basic CLI knowledge |
| Flexibility | Supports many formats and methods | No real-time preview in CLI |
| Customization | Highly customizable filters | Steeper learning curve for newbies |
| Offline Use | Works fully offline | No built-in cloud integration |
🤔 FAQs About Auto-Editor
Q: Is Auto-Editor really free?
Yes! The CLI version is open source and free. The GUI version is paid but optional.
Q: Does it work offline?
Yes! Auto-Editor runs locally and doesn’t require internet access after installation.
Q: Can I use it for commercial projects?
Yes! Auto-Editor is MIT licensed, so it’s safe to use in personal and commercial work.
Q: What formats does it support?
MP4, MOV, AVI, MKV, FLV, MP3, WAV, and more. Any format supported by ffmpeg.
📝 Conclusion: Automate Your Editing Workflow with Auto-Editor
Auto-Editor stands out as the best free auto cut software for PC, Mac, and Linux due to its flexibility, performance, and ease of automation.
From removing silence in podcasts and lectures to trimming gameplay highlights or preparing raw interview data, Auto-Editor streamlines your workflow and lets you focus on creativity.
🚀 Ready to Start Using Auto-Editor?
Start cutting silence, trimming motionless scenes, and exporting professional timelines today — all with a few simple commands.


Leave a Comment